
How to Hit a Controlled Backhand Volley in Padel
Learn the padel backhand volley: grip, shoulder turn, contact and low-ball control, with a simple partner drill and clear tennis-habit corrections.
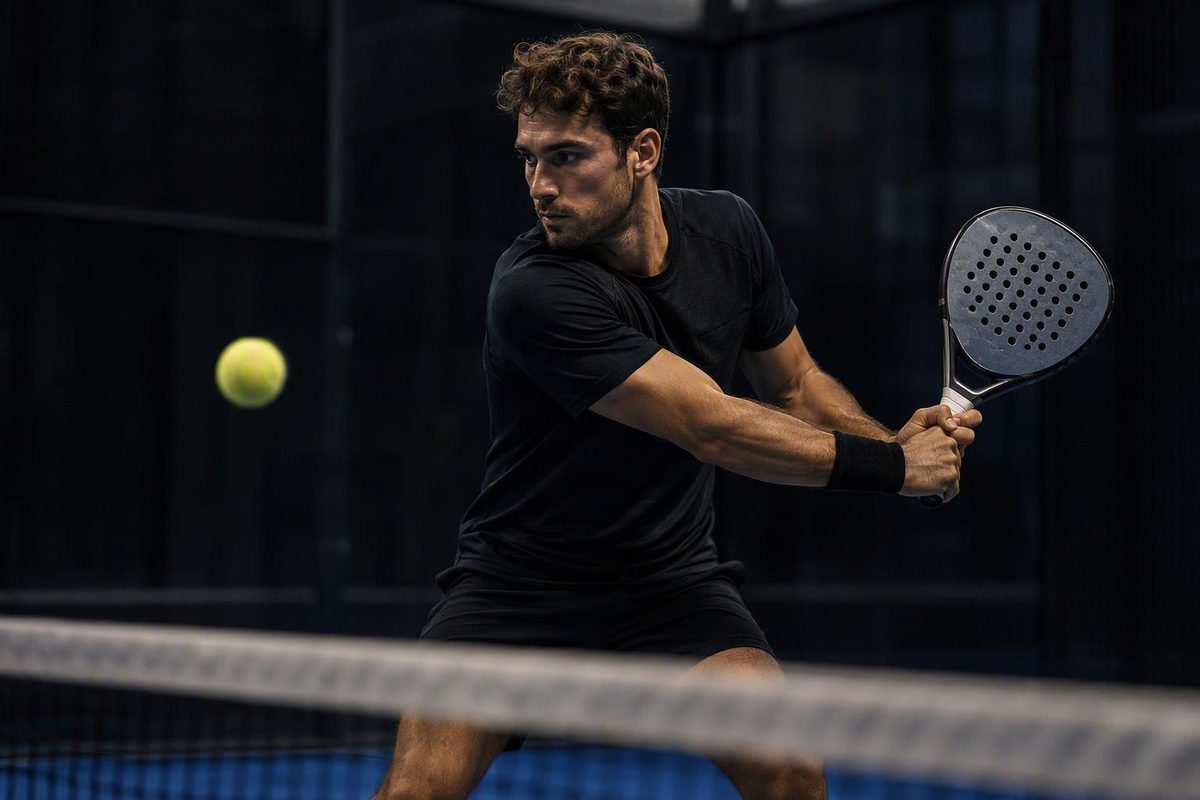
A backhand volley is a shot played on your backhand side before the ball bounces. At the net, your first aim is a controlled return that lets you prepare for the next ball—not a winner from every contact. You cannot volley a serve: let it bounce before returning it, as the LTA’s rules guide explains.
Think turn, block, recover. The Padel School describes the basic volley as a compact blocking action with contact just in front of the body, rather than a large swing. Its volley guide is a useful model for beginners.
Build the shot in four steps
These instructions describe a right-handed player; reverse left and right if you are left-handed.
1. Start ready, with a continental grip
Hold the racket upright in front of you, with your knees slightly bent. Use a continental grip—the “hammer” grip—rather than rotating into a topspin backhand grip. Your free hand can support the racket at the throat, above the handle, during preparation. These are the starting cues in The Padel School’s volley guidance.
If finding that grip is unfamiliar, use our continental grip guide.
Leave yourself room to step forward: standing almost against the net reduces reaction time and makes you vulnerable to a lob.
2. Turn your shoulders, not just your arm
Make a small split step—a light hop into a balanced stance—as the opponent hits. Once you read the backhand, turn your shoulders so your right shoulder comes forward. Let the racket move with that turn; do not sweep it far behind your body. The split step, upright racket and shoulder turn are part of The Padel School’s backhand-volley cues.
Checkpoint: you should be able to move from ready position into preparation without a separate, looping backswing.
3. Meet the ball in front
When you have time and space, step diagonally forward with your right foot. Release the supporting hand and use a short forward action to meet the ball in front of your body, aiming for the centre of the racket face.
The Padel School recommends a slightly open face for a little slice, with a short swing and follow-through. Treat that as a small adjustment—not a steep downward chop—and remain balanced. See its backhand-volley guidance.
Do not force the step on a fast ball: prioritise a stable block over a late lunge.
4. Reset immediately
Bring the racket back upright and regain a balanced position. Do not watch your volley while leaving the racket down. Recover with your partner rather than chasing the ball’s path alone; our doubles positioning guide explains that movement.
Change the response when contact is low
For a ball below net height, bend your knees to lower your body instead of reaching down only with your arm. The Padel School recommends lowering with the legs on low volleys.
Give the ball enough clearance to cross the net. Do not try to drive it sharply downward from below the tape. Start with a controlled target through the middle, leaving room inside the court’s boundaries.
For example: you and your partner are at the net, and an opponent drives a low ball to your backhand. Lower, block it safely through the middle, then reset together. If the next ball arrives higher, you can choose a firmer volley. The first shot has kept the rally manageable rather than forcing an attack from awkward contact.
What tennis players should keep—and change
Keep your split step, shoulder preparation and feel for blocking. Leave a groundstroke-sized backswing behind. The LTA emphasises shorter racket movements and control in padel, noting that extra power can produce a playable rebound off the glass rather than a clean winner. See its tennis-to-padel guidance.
A simple partner drill
Stand in a comfortable net position, with your partner near the back of the opposite court feeding gentle balls to your backhand. Leave time to reset between feeds.
- Ten comfortable-height feeds: turn, make compact contact and reset after each shot.
- Ten lower feeds: bend your knees and prioritise net clearance.
- Ten mixed feeds: practise the forward step when there is time; use a shorter block when rushed.
Use the middle of the opposite court as a generous target. Count a repetition as successful only when the ball lands in court and you are ready before the next feed. If you keep contacting beside or behind your body, slow the feeds and prepare earlier—not with a bigger swing.
For a longer session, continue with our beginner volley drills.